What you’ll learn:
Make instant picture slideshows easily with slideshow creator
Creating slideshows of still photos used to be a manual process where you’d bring photos into the timeline, animate them with pans and zooms, and define transitions between them. It wasn’t really hard, but it was time-consuming. Now, VEGAS Pro offers the Slideshow Creator, where you can do in seconds what used to take you much longer. Just choose your photos, decide on a few details, and the Slideshow Creator does the rest!
In this tutorial, we explore the ease and power of the Slideshow Creator. We’ll follow these steps:
Step 1: Open the Slideshow Creator
Step 2: Select Your Photos
Step 3: Adjust Your Photos
Step 4: Set Photo Length
Step 5: Set Transition Style
Step 6: Add More Photos
Step 7: Re-Edit the Slideshow
Step 8: Add Music, Sound and Other Effects
When we’re done, you’ll have created a compelling, entertaining slideshow your viewers will really enjoy.
Read on to find out more!

No doubt you’ve had a stack of still photos you’d like to share with friends and family, of birthday parties or weddings or family reunions. Or maybe you want to show coworkers or clients a company charity event in a business presentation. The problem is, still photos can be boring. Anyone who’s sat through slides of vacation pictures or a mundane PowerPoint presentation can attest to that! But the Slideshow Creator not only lets you add style and pizazz to your still photos, it does it in seconds with incredible ease!
Useful Tips: Add Animated Video Titles
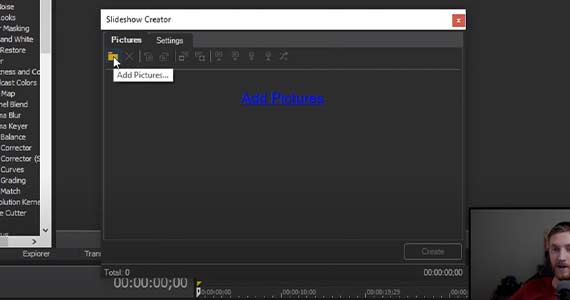
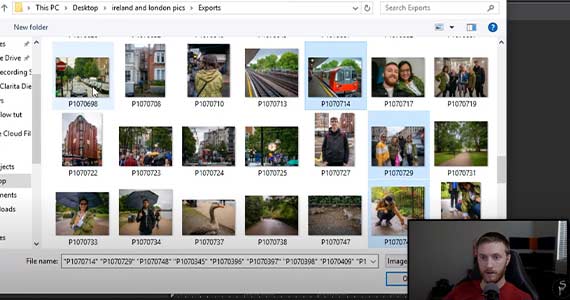
✓ Click either the Add Pictures text or the folder icon in the upper left. In the Open window, go to the folder which contains your images.
✓ Select all the images, or CTRL-click to pick individual images. Click Open. The Slideshow Creator window populates with the images you chose.
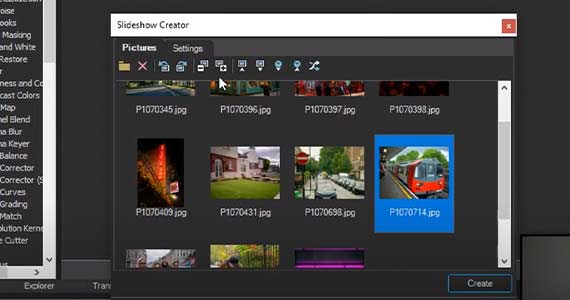
Arrange the sequence to your preference. You can drag individual images into a custom order, or you can use buttons for automatic arrangement.
✓ Click Sort A to Z or Sort Z to A for alphabetical or reverse alphabetical order. Click Sort New to Old or Sort Old to New for chronological or reverse chronological order. Or click Shuffle for random order.
✓ Click Move Selected -1 to move selected images ahead by one in the sequence. Click Move Selected +1 to move them further back by one.
✓ Click Rotate Counterclockwise or Rotate Clockwise to change the orientation of any selected images.
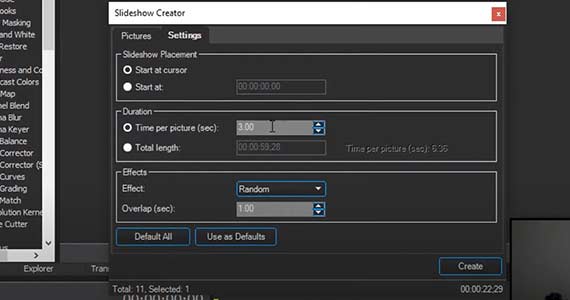
✓ Click the Settings tab. Under Slideshow Placement, choose if you want your slideshow to begin at the timeline cursor, or type in an exact frame on the timeline where you’d like the slideshow to begin.
Set the length you want each photo to be on the screen in the Duration box. You can also type in an exact length for your slideshow. The Slideshow Creator automatically adjusts the duration of each photo proportionally so the sequence fits within the time you defined.
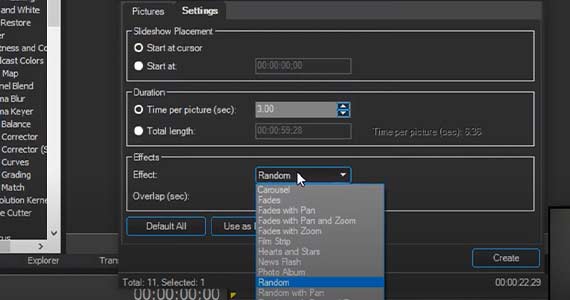
✓ Click the Effects drop-down menu in the Effects box, which shows your choices for the transition style between images.
You can choose styles which add pan and/or zoom animation to your images automatically. If you choose a specific style, all of the transitions in the slideshow will be that style. If you’d like mixed transitions, choose Random.
Define the length of transition between images with the Overlap value. You’re now ready to create your slideshow.
✓ Click Create. Within seconds, your slideshow appears on the timeline at the point you chose under Slideshow Placement.
Play through the sequence to see if it’s exactly what you want. If so, great! You’re all set and can move on to adding music or other effects. If not, you can adjust it.
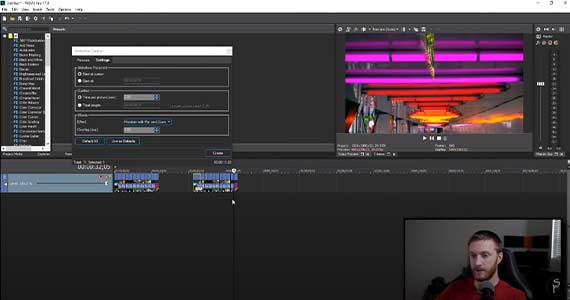
At this step, you can re-edit the slideshow and mix in the new photos, or even if you didn’t add anything new. Arrange the images as desired. Change their duration. Change the transition length or transition style.
✓ Set the Slideshow Placement parameter to a new point on the timeline and click Create. The new, re-edited slideshow appears on the timeline. If you want to completely replace the original slideshow, select the old sequence on the timeline and press Delete. Move the new sequence to its place or set your Slideshow Placement parameter to the start point of the original slideshow. Click Create.
You also have the option of manually editing the sequence on the timeline. You can replace any images, any transitions, or change lengths of anything, however you like.
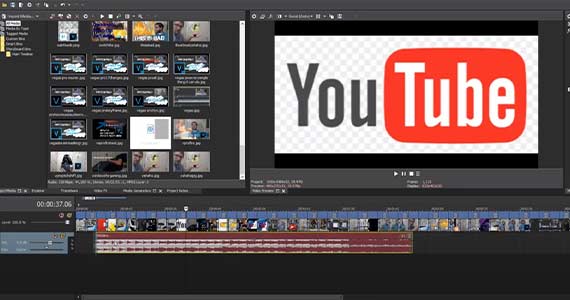
Now, spice things up with some music and possibly some sound effects. Choose music which fits your slideshow thematically, be it upbeat, playful, somber, solemn, or even triumphant.
Sound effects can go a long way, especially if you pair them to motions on the screen, like a woosh sound for certain transitions, or maybe a train whistle if there’s a train in photo, or maybe screams for a photo of a roller coaster.
You can also punch up your images with any of the many video FX available in VEGAS Pro. Make some photos black and white or super-saturated. Pinch and pull some photos for goofy comedic effect. Add additional pan or zoom animation. A creative video engages your audience and connects them to your slideshow. The sky’s the limit – use your imagination and have fun!


What's the difference between VEGAS Pro and VEGAS Pro Suite?
